Example: Creating a segmented hero banner with Contentful
This example shows you how to create a simple hero banner in Contentful and display the banner only to segmented visitors on a site. The segment in question comprises visitors who have viewed at least one product in the past 24 hours. The example uses a modification with a template to display the hero banner on the site.
This example assumes that:
-
The Frosmo Segments for Contentful app has been installed and configured in the Contentful web app.
-
The site has the Viewed a product within the past 24 hours segment defined in the Frosmo Platform. This is a standard segment in our basic feature setup for retail sites.
-
You're familiar with JavaScript and Contentful's Content APIs.
-
You're familiar with core Frosmo features, such as modifications and templates, and how to work with them in the Frosmo Control Panel.
You can freely use another segment for this example if you don't have the Viewed a product within the past 24 hours segment available. But make sure the segment is one that's easy for you to enter, so that you can test the hero banner on the site.
In this example, you:
-
Create a new content type for a hero banner. The content type includes the Frosmo segment selector as one of its fields.
-
Create a new entry based on the hero banner content type. You select the Viewed a product within the past 24 hours segment for the entry.
-
Create a modification and the associated placement and template for displaying the hero banner on the site. The template fetches the hero banner entry from Contentful and builds the final content for display.
You create the content type and entry in the Contentful web app. You create the modification, placement, and template in the Frosmo Control Panel.
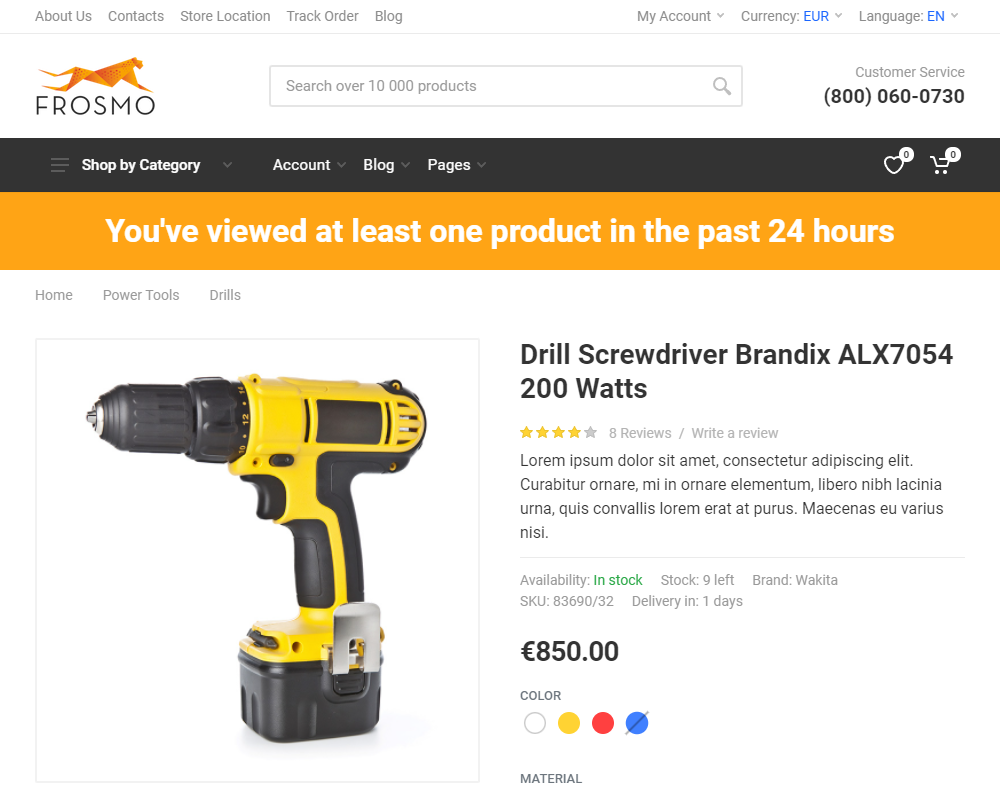
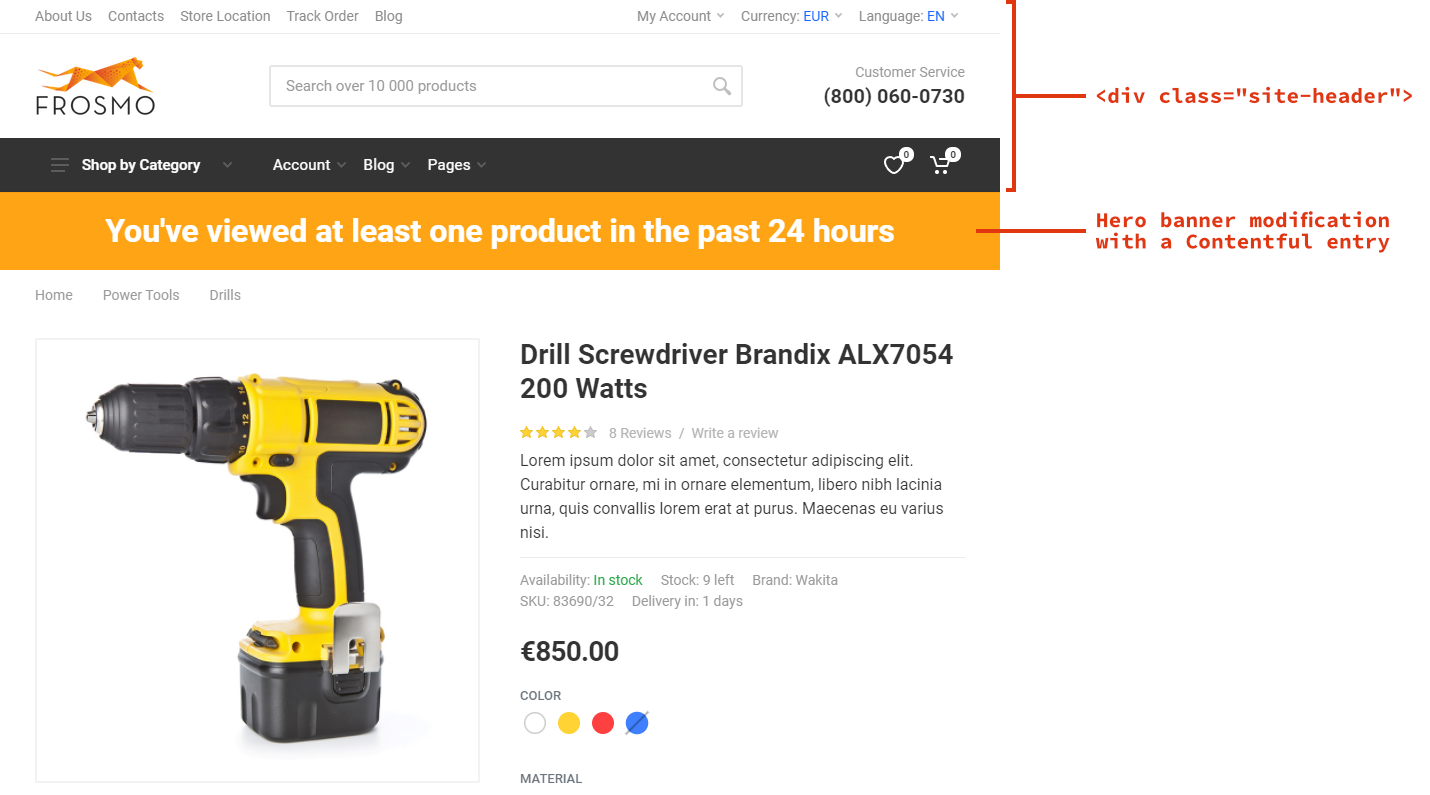
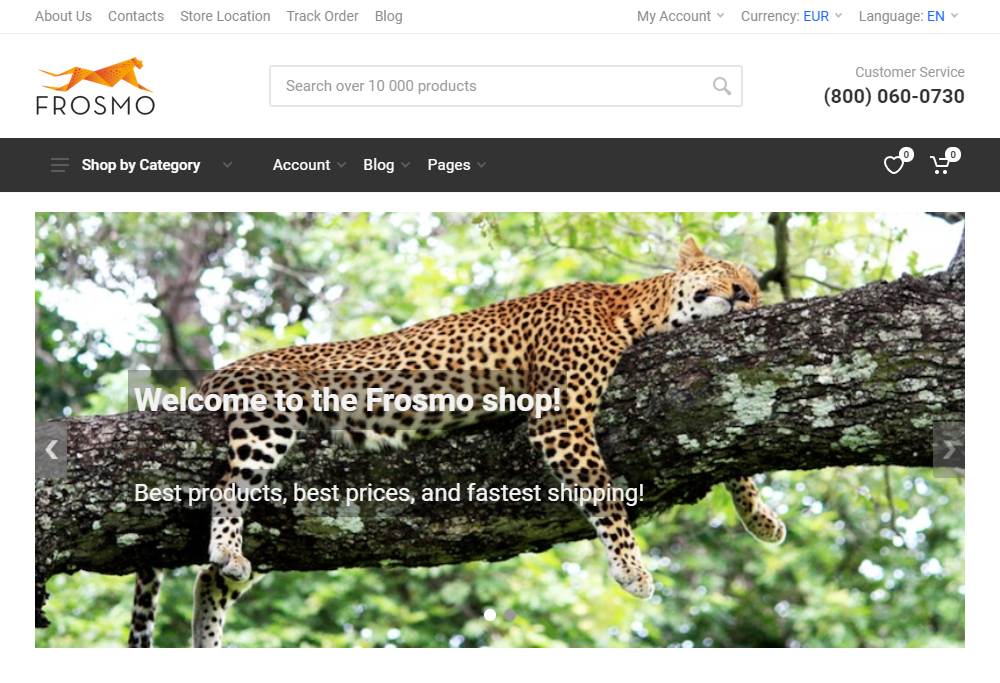
The following figure shows the final hero banner as displayed on an example retail site.
To create the hero banner:
Creating the content for the hero banner
The content for the hero banner consists of a content type and an entry. The content type defines a simple hero banner with a title field and a segment selector field.
To create the content:
Creating the hero banner content type
To create the hero banner content type:
-
Log in to the Contentful web app.
-
In the top navigation menu, select Content model.
-
Click Add content type.
-
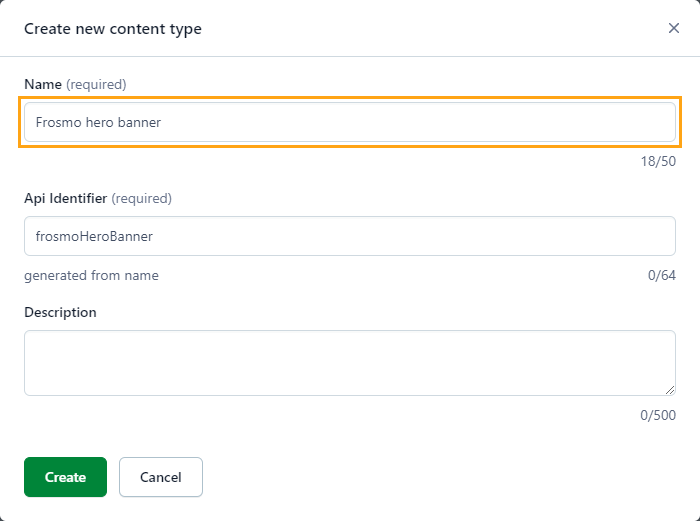
Define the following settings:
-
Name: Enter "Frosmo hero banner".
-
Leave API identifier to its default autogenerated value ("frosmoHeroBanner").
-
-
Click Create.
-
Create the title field:
-
In the content type editor sidebar, click Add field.
-
Select Text.
-
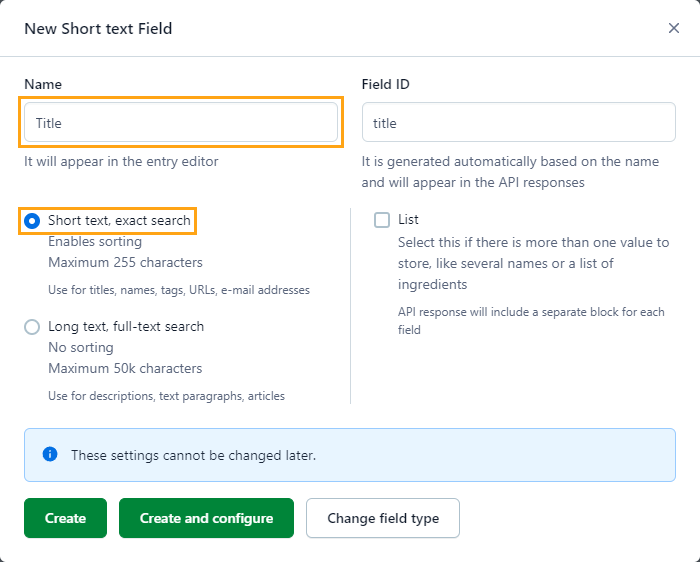
Define the following settings:
-
Name: Enter "Title".
-
Leave Field ID to its default autogenerated value ("title").
-
Select Short text.
-
-
Click Create and configure.
-
Select This field represents the Entry title.
-
Click Confirm.
-
-
Create the segment selector field:
-
In the content type editor sidebar, click Add field.
-
Select Text.
-
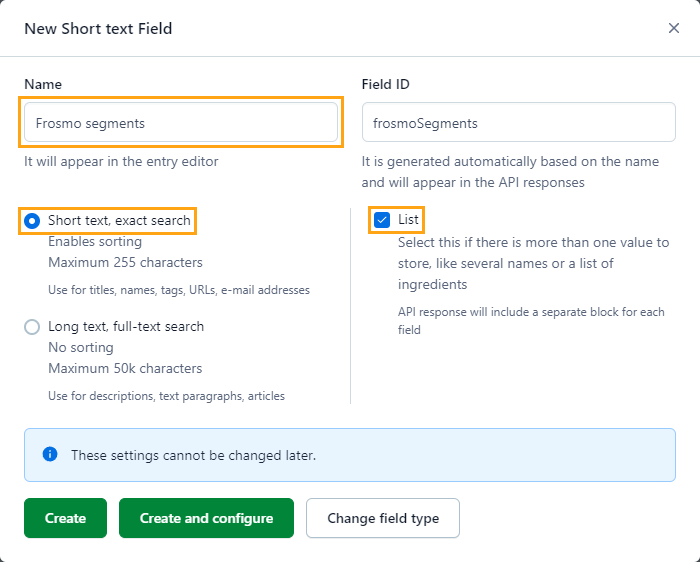
Define the following settings:
-
Name: Enter "Frosmo segments".
-
Leave Field ID to its default autogenerated value ("frosmoSegments").
-
Select Short text.
-
Select List.
-
-
Click Create and configure.
-
Select Appearance, and select Frosmo Segments.

-
Click Confirm.
-
-
Click Save.
You have created the content type. You can now create an entry based on the content type.
Creating the hero banner entry
To create the hero banner entry:
-
In the top navigation menu, select Content.
-
Click Add entry, and select Frosmo hero banner.
-
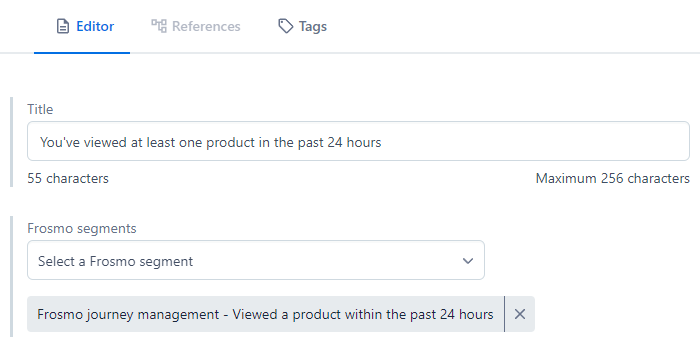
In the entry editor, define the following settings:
-
Title: Enter "You've viewed at least one product in the past 24 hours".
-
Frosmo segments: Select Viewed a product within the past 24 hours. If the segment belongs to a segment group, the segment name is prefixed with the group name.
-
-
In the entry editor sidebar, click Publish.
You have created the entry. You can now display the entry to visitors.
Displaying the hero banner
Only visitors who are currently in the Viewed a product within the past 24 hours segment see the hero banner modification. Visitors not in the segment do not see the modification. The hero banner displays below the site header on every page. For example purposes, let's assume that the header is always contained in a <div class="site-header"> element.
The content layout and source code structure of your site almost certainly differ from the above. Consider the screenshots and design assumptions in this example as just that: examples.
To display the hero banner on the site:
Creating the hero banner placement
To create the hero banner placement:
-
In the Frosmo Control Panel, in the sidebar, select Modifications.
-
Select the Placements tab.
-
Click Create placement.
-
Define the following settings:
-
Name: Enter "All pages - Hero banner".
-
Page type: Select Other.
-
Target element: Select CSS selector, and enter "div.site-header" as the selector name.
-
Display method: Select After element.
The target element and display method together place the modification below the site header, a
<div class="site-header">element, on every page (since there's no URL matcher).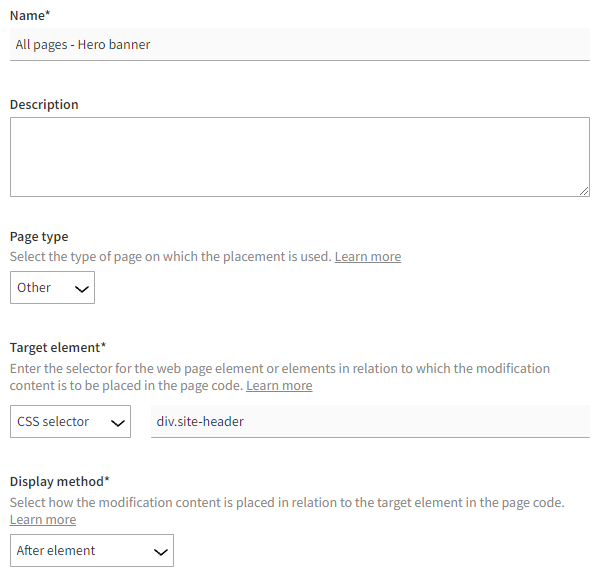
For more information about the settings, see Creating and editing a placement.
-
-
Click Save.
You have created the placement. You can now use the placement in a modification.
Creating the hero banner template
The template creates a simple hero banner with a title over a solid-color background. The template provides variation content options for defining the title text and background colors. The template uses content prerendering to fetch and process the banner content (the title) from Contentful before building and rendering the final banner element.
To create the hero banner template:
-
In the Control Panel, on the Modifications page, select the Templates tab.
-
Click Create template.
-
Define the following settings:
-
Name: Enter "Hero banner".
-
Export content: Leave this field to Automatic.
-
Minified: Leave this to Enabled.
-
Content type: Select In-page.
-
Content: Enter the following content for the template.
Content for the template<div class="hero-banner">
<h1>{{title}}</h1>
</div>
<style>
.hero-banner {
background-color: {{bannerColors.background}};
padding: 10px;
}
.hero-banner > h1 {
color: {{bannerColors.text}};
text-align: center;
}
</style>The content defines the HTML and CSS code for the hero banner. The content includes multiple Mustache tags, which need to be replaced with specific values in the final rendered content.
Feel free to edit the content to adapt the hero banner to your site's layout and style.
-
Content prerenderer: Enter the following content prerenderer for the template.
Content prerenderer for the template// Get the current visitor's segment IDs.
var visitorSegments = Object.keys(frosmo.easy.context.segments);
// Build the GraphQL Content API query for fetching the hero banner entries from Contentful.
var query = `query { \
frosmoHeroBannerCollection(where: {frosmoSegments_contains_some:${JSON.stringify(visitorSegments)}}) { \
items { \
title \
frosmoSegments \
} \
} \
}`;
/**
* Fetch the hero banner entries from Contentful.
* @returns Object Contentful data.
* @todo Replace TOKEN and SPACE_ID with actual values appropriate for your Contentful setup.
*/
async function getContent(query) {
var accessToken = "TOKEN";
var response = await fetch('https://graphql.contentful.com/content/v1/spaces/SPACE_ID', {
method: 'POST',
headers: {
'Content-Type': 'application/json',
'Accept': 'application/json',
'Authorization': `Bearer ${accessToken}`
},
body: JSON.stringify({ query: query })
});
return await response.json();
}
/**
* Render the first hero banner entry fetched from Contentful.
* @returns {void}
*/
async function renderContent() {
var data = await getContent(query);
var entry = data.data.frosmoHeroBannerCollection.items[0];
if (!entry) {
console.log('The query did not return any hero banner entries for the specified segments.');
return;
}
var values = {
title: entry.title
}
var options = Object.assign({}, templateInstance.options, values);
templateInstance.render(options);
}
renderContent();The content prerenderer:
-
Gets the IDs of the visitor's segments using the
frosmo.easy.context.segmentsproperty. Since the modification content will not be preloaded, the property will always be available when the prerenderer executes, and you do not therefore have to wait for the property to become available. -
Fetches hero banner entries (
frosmoHeroBannerCollection) from Contentful using the GraphQL Content API. The prerenderer fetches all entries whosefrosmoSegmentsfield contains at least one of the visitor's segment IDs and then selects the first returned entry for display. (This example assumes you have a singlefrosmoHeroBannerentry defined in Contentful.) -
Builds the final content options with which to render the template content. These are the values for the Mustache tags in the content. The values include the hero banner title, which comes from the fetched entry data, and the title text and background colors, which come from the content options set in the modification variation (
templateInstance.options). -
Renders the template content with the final content options (
templateInstance.render(options)).
-
-
Content options schema: Enter the following content options schema for the template.
Content options schema for the template{
"type": "object",
"properties": {
"bannerColors": {
"type": "object",
"title": "Banner colors",
"properties": {
"background": {
"type": "string",
"title": "Background color",
"default": "#ffa415"
},
"text": {
"type": "string",
"title": "Text color",
"default": "#ffffff"
}
}
}
}
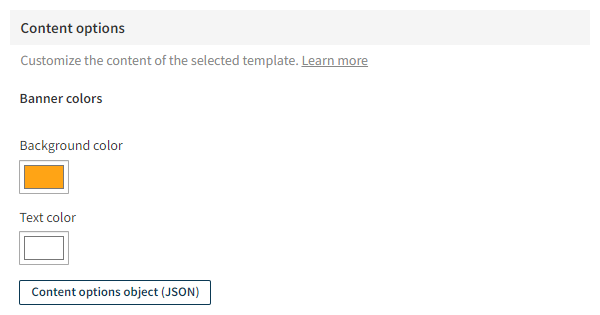
}The schema describes the following content options, which must be set in the content options UI of the modification variation:
-
Background color (
bannerColors.background) -
Text color (
bannerColors.text)
The template uses the content options to create the final hero banner element.
-
-
Content options UI schema: To further customize the content options UI, enter the following content options UI schema for the template.
Content options UI schema for the template{
"bannerColors": {
"background": {
"ui:widget": "color"
},
"text": {
"ui:widget": "color"
}
}
}The UI schema sets the Background color and Text color fields to be rendered as color picker widgets in the content options UI.
The following figure shows the complete template in the Control Panel. Click the figure to view a larger version.

For more information about the settings, see Creating and editing a template.
-
-
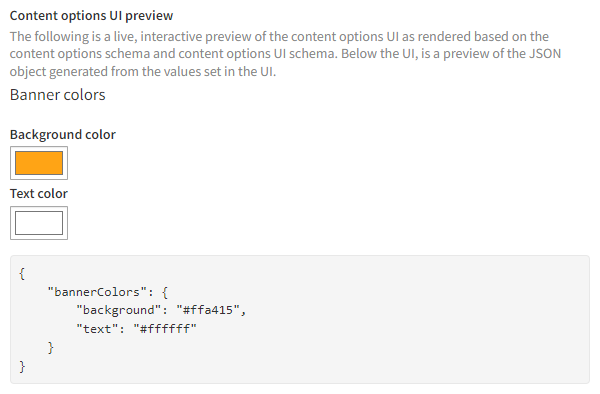
Use the content options UI preview at the bottom of the editor to test that the content options schema and content options UI schema are correctly defined.
The preview is fully interactive, so any changes you make to the schemas are automatically reflected in the preview. You can also set the content options in the preview as you would in the actual content options UI, and you can see a preview of the JSON object generated based on the set values.
The following figure shows the content options UI preview for template.
-
Click Save.
You have created the template. You can now use the template in a modification.
Creating and activating the hero banner modification
To create and activate the hero banner modification:
-
In the Control Panel, on the Modifications page, select the Overview tab.
-
Click Create modification.
-
Enter "All pages - Hero banner" as the modification name, select Personalization as the modification case, select In-page as the content type of the modification, and click Create.
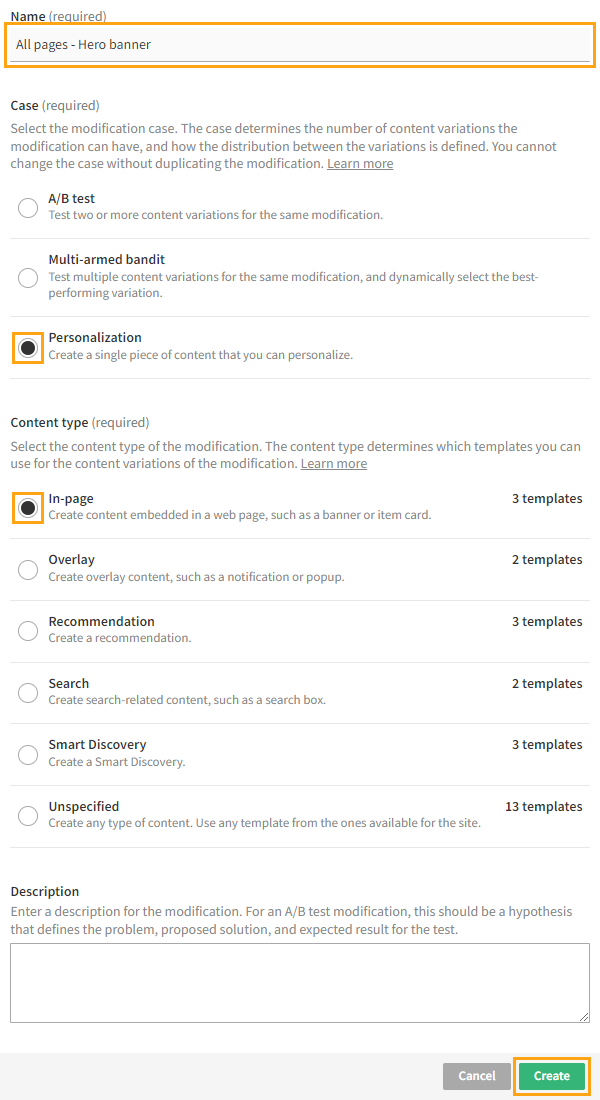
You could also select another case, but since this modification needs only the one variation, Personalization is the natural choice here.
For more information about the settings, see Creating and editing a modification.
-
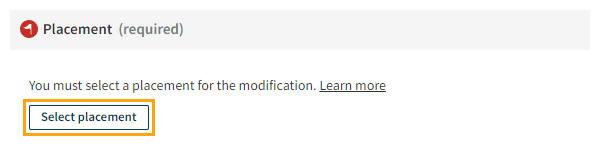
Select the placement for the modification:
-
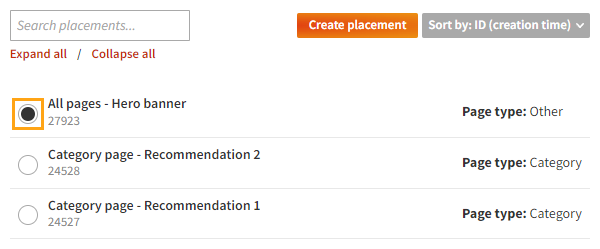
In the Basic settings view, in the Placement section, click Select placement.
-
Select the placement you created for the hero banner.
-
Click Save.
For more information about the settings, see Defining the placement for a modification.
-
-
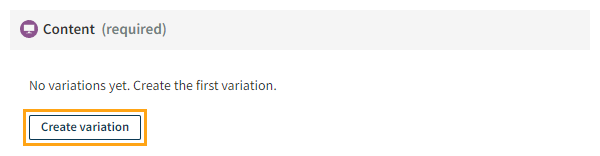
Define the content for the modification:
-
In the Basic settings view, in the Content section, click Create variation.
-
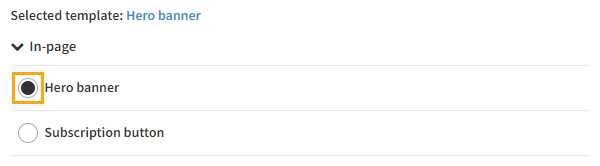
In the variation settings, for Content source, select Template.
-
In the templates list, select the template you created for the hero banner.
-
Optionally, in the Content options section, change the default banner colors.
-
At the bottom of the view, click Save.
-
Back in the Content section, click the quick menu button for the variation, and select Activate.
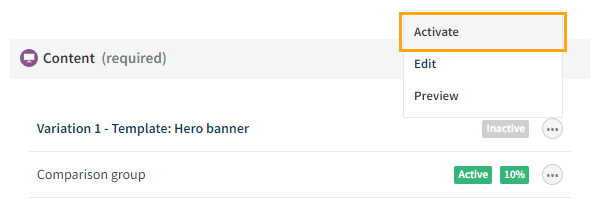
-
If you want to disable the comparison group for the modification, click the quick menu button for the group, and select Deactivate.
For more information about the settings, see Defining the content for a modification.
-
-
Activate the modification:
-
At the bottom of the Basic settings view, click Activate.
-
To confirm, click Activate.
-
You have created and activated the modification. The hero banner is now live on the site, and you can now test it.
Testing the hero banner modification
Now that the hero banner modification is live on the site, make sure that it's displayed correctly and to the correct audience.
To test the hero banner modification on the site:
-
Go to the site as a new visitor. For a clean browser session, use incognito mode.
-
Check that the modification is not shown. You've yet to view a product, so you're not segmented in Viewed a product within the past 24 hours.
-
Go to a product page. You're now segmented.
-
Reload the page.
-
Check that the modification is shown.
-
If you do not see the modification, use Frosmo Preview to debug your browser session and the modification, and x any issues accordingly.
You have tested the modification, and you're done with this example!