Creating and editing shared code
Learn how to create and edit a piece of shared code, and define the settings for the code.
Creating shared code
To create a piece of share code:
-
In the Frosmo Control Panel, in the sidebar, select More > Shared Code.
-
Click Create shared code.
-
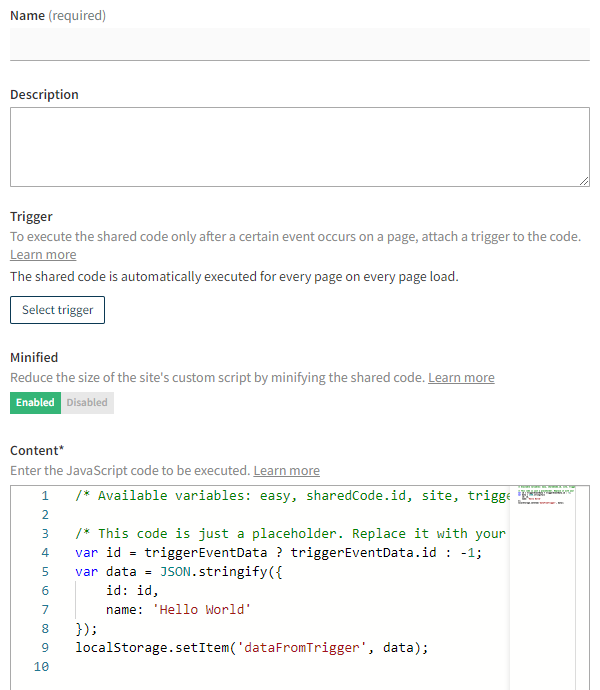
Define the shared code settings.
-
When you're done, click Create.
-
To start executing the shared code on the site, click Activate, and then click Activate to confirm. You can also activate the shared code later, either from the shared code list or by editing the code.
If active, the piece of shared code is now automatically executed on every page load or when the trigger, if defined, fires.
Editing shared code
To edit a piece of share code:
-
In the Frosmo Control Panel, in the sidebar, select More > Shared Code.
-
In the shared code list, find the piece of shared code you want to edit, and click the shared code name.
-
Edit the shared code settings.
-
When you're done, click Save.
-
Optionally, activate or deactivate the shared code:
-
If currently active: To stop executing the shared code on the site, click Deactivate, and then click Deactivate to confirm. The piece of shared code is no longer executed on the site (unless a visitor still has the code cached in their browser).
-
If currently inactive: To start executing the shared code on the site, click Activate, and then click Activate to confirm. The piece of shared code is now automatically executed on every page load or when the trigger, if defined, fires.
tipYou can also activate and deactivate the shared code from the shared code list.
-
If active, the updated piece of shared code is executed when a visitor next loads a page (unless the visitor still has the old version cached in their browser).
Shared code settings
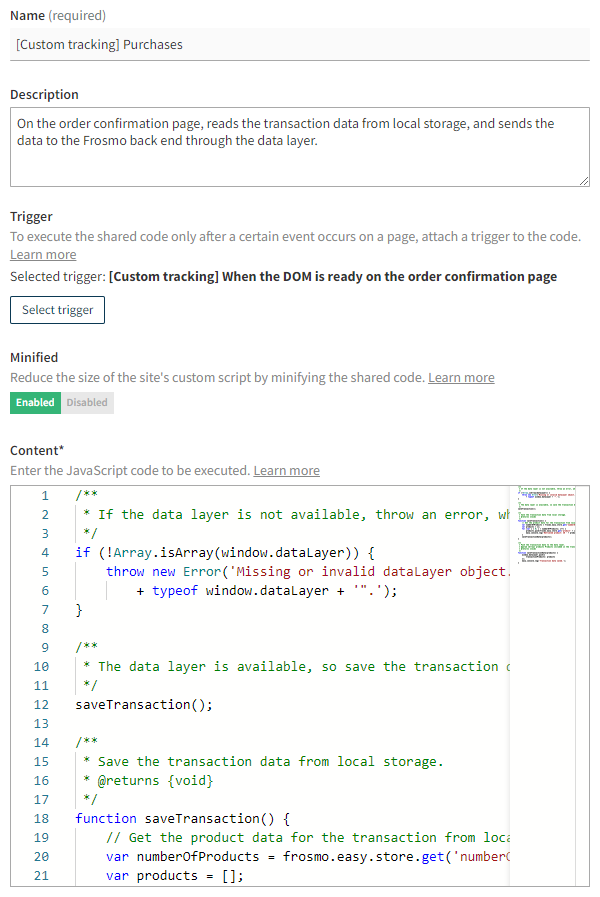
The following table describes the settings you can define for a piece of shared code in the Frosmo Control Panel.
| Setting | Description | Role |
|---|---|---|
Name | Enter a name for the piece of shared code. | Required |
Description | Enter a description for the piece of shared code. You can use the description to, for example, explain what the shared code does on the site and when it's executed. | Optional |
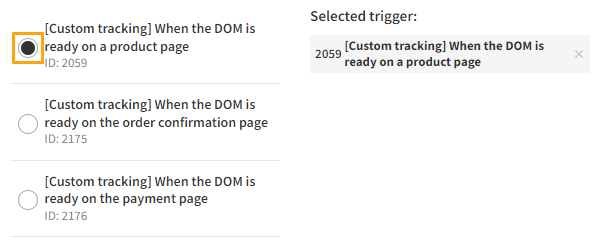
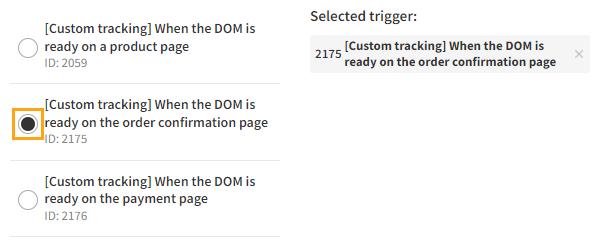
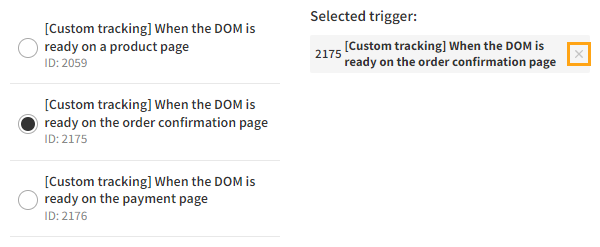
Trigger | If you want to execute the shared code only after a certain event occurs on a page, select a trigger. You can only select a single trigger, but you can freely change the selected trigger, and you can remove the trigger if you no longer need it. If you do not select a trigger, the shared code is automatically executed for every page on every page load. Selecting a triggerTo select a trigger:
Changing the triggerTo change the selected trigger:
Removing the triggerTo remove the selected trigger:
| Optional |
Minified | Select whether to minify the shared code when exported to the site's custom script. Minifying the code can significantly reduce the size of the custom script file and thereby improve page load times, especially on sites with a lot of shared code. The default and recommended setting is Enabled. note Disable minification only for development or debugging purposes. For production use, always enable minification. tip If you need to disable minification for development or debugging purposes, instead of changing the production shared code, add the shared code to a workspace, and test the workspace shared code without minification. | Required |
Content | Enter the JavaScript code you want to execute on the page. tip When you create a new piece of shared code, this field contains example JavaScript code to get you started. You can remove the code if you don't need it. You can use the following object variables in the code:
note
The field automatically validates (lints) the code against ECMAScript 2018 (ES2018). | Required |
