Example: Creating a Smart Discovery for category pages
This example shows you how to create a Smart Discovery for category pages. The example assumes that the site already has the necessary Smart Discovery template set up and ready to use, so you'll only be creating the placement and modification for the discovery.
In this example, you:
-
Create a placement for the discovery. The placement targets only category pages.
-
Create a modification for displaying the discovery on category pages. The modification uses a predefined slider template for Smart Discoveries.
You create the placement and modification in the Frosmo Control Panel.
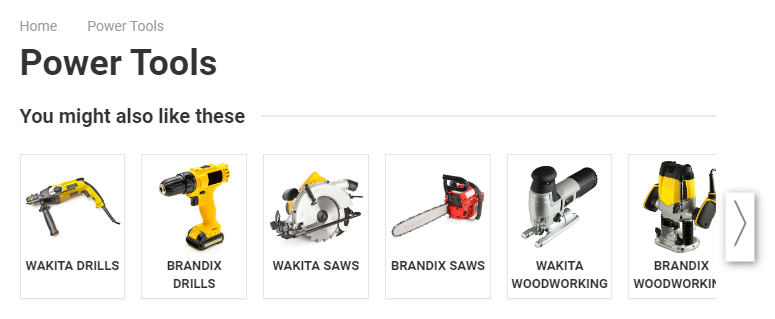
The following figure shows an example of the Smart Discovery on a category page.
This example assumes that Frosmo Search & Smart Discovery is correctly set up on the site, and that the platform has generated the Smart Discovery data for categories.
If you're trying out this example on a production site, but do not want the example to interfere with production content, use either test mode or a workspace in creating the example. You can also safely preview the modification from the Control Panel.
To create the Smart Discovery:
Creating the Smart Discovery placement
For example purposes, let's assume the following:
-
You want to display the discovery on all category pages. In the URL of a category page, the path always starts with
category, for examplehttps://shop.company.com/category/clothes. The parameter is unique to category pages. -
You want to display the discovery just below the category page header, as the first piece of main page content. The main page content is in a
<div class="main">element.
To create the placement:
-
In the Frosmo Control Panel, in the sidebar, select Modifications.
-
Select the Placements tab.
-
Click Create placement.
-
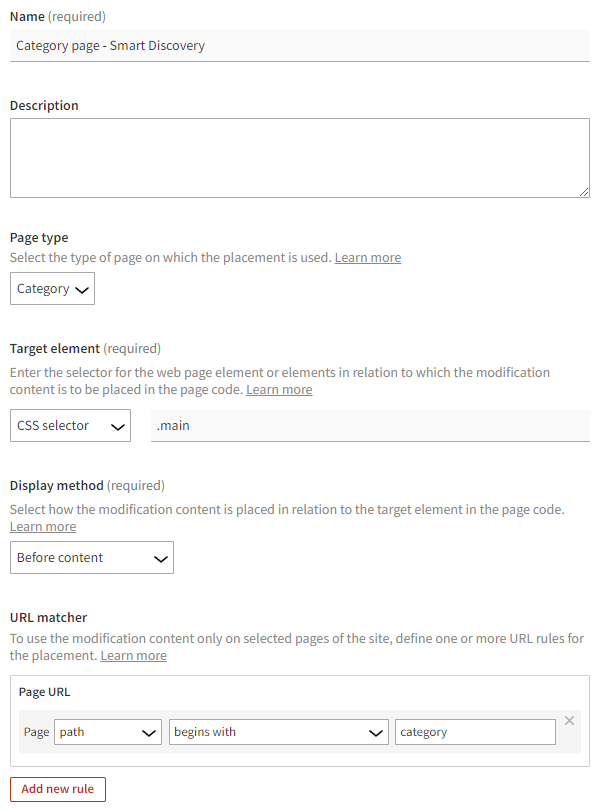
Define the following settings:
-
Name: Enter "Category page - Smart Discovery".
-
Page type: Select Category.
-
Target element: Select CSS selector, and enter ".main" as the selector name.
-
Display method: Select Before content.
-
URL matcher: Click Add new rule. Since only the URL path of a category page starts with
category, define the following rule: Page path begins with category. This means that the placement is valid for a page only when the page URL path begins with "category".
The target element, display method, and URL matcher together place the modification as the first piece of main page content on all category pages.
 tip
tipIf the site has a predefined trigger for detecting category pages, use the trigger instead of the URL matcher.
For more information about the settings, see the placement user guide.
-
-
Click Save.
You have created the placement. You can now use the placement in a modification.
Creating the Smart Discovery modification
For example purposes, let's assume you have the following predefined in the Control Panel:
- Template for a Smart Discovery slider with content options for the display title and page type. For more information about how to create this template, see Example: Creating a Smart Discovery template.
To create and activate the modification:
-
In the Control Panel, in the sidebar, select Modifications.
-
Click Create modification.
-
Enter "Category page - Smart Discovery" as the modification name, select Personalization as the modification case, and click Create.
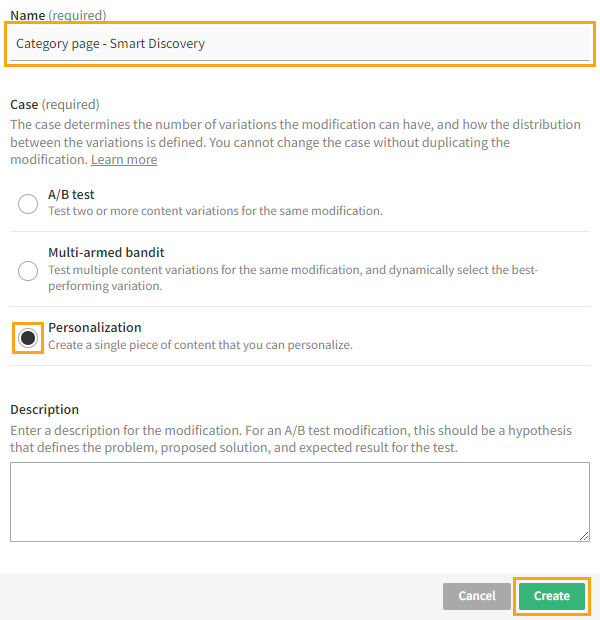
You could also select another case, but since this modification needs only the one variation, Personalization is the natural choice here.
For more information about the settings, see Creating and editing a modification.
-
Select the placement for the modification:
-
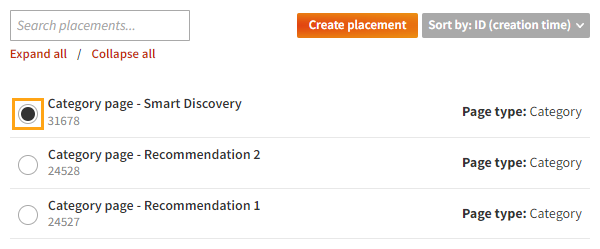
In the Basic settings view, in the Placement section, click Select placement.

-
Select the placement you created for the Smart Discovery. In this example, the placement is Category page - Smart Discovery.
-
Click Save.
For more information about the settings, see Defining the placement for a modification.
-
-
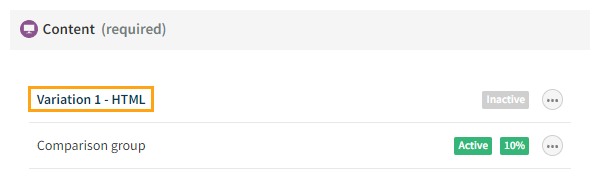
Define the content for the modification:
-
In the Basic settings view, in the Content section, click the variation name.
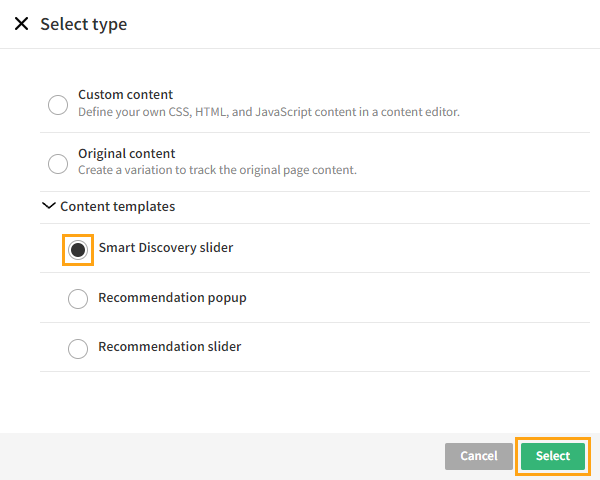
-
In the Variation settings section, click Select type.
-
In the Content templates list, select the predefined template for a Smart Discovery slider, and click Select. In this example, the template is Smart Discovery slider.
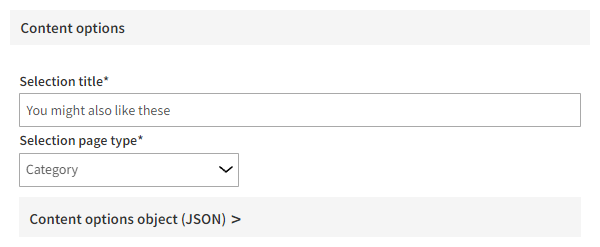
-
In the Content options section, enter an appropriate title for the Smart Discovery, such as "You might also like these", and select Category as the page type.
-
At the bottom of the view, click Save.
-
Back in the Content section, click the quick menu button for the variation, and select Activate.
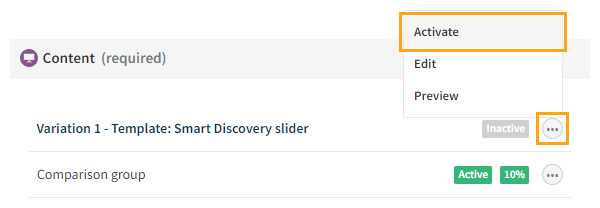
-
If you want to disable the comparison group for the modification, click the quick menu button for the group, and select Deactivate.
For more information about the settings, see Defining the content for a modification.
-
-
Activate the modification:
-
At the bottom of the Basic settings view, click Activate.
-
To confirm, click Activate.
-
You have created and activated the modification. The Smart Discovery is now live, and you're done with this example!