Example: Developing a site banner in a workspace
This example shows you how to develop and test a new site banner in a workspace in the Frosmo Control Panel. The example will not disrupt your live site content, meaning your visitors will not see the site banner you create.
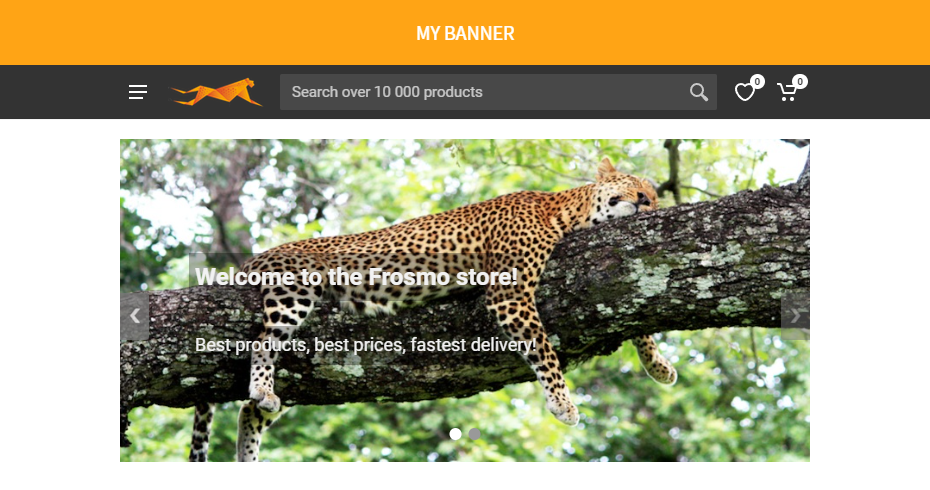
To create the site banner:
Creating and entering the site banner workspace
To create and enter the workspace for the site banner:
-
In the Frosmo Control Panel, in the sidebar, select More > Workspaces.
-
Click Create workspace.
-
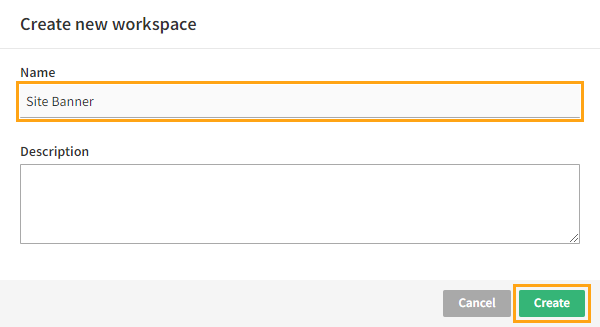
Enter "Site Banner" as the workspace name, and click Create.
-
In the workspaces list, click Site Banner to enter the workspace.
You have created and entered the workspace. You can now create the site banner in the workspace, starting with creating the site banner placement.
Creating the site banner placement in the workspace
To create the site banner placement in the workspace:
-
In the Control Panel, in the workspace, click the quick menu button for Placements, and select Create placement.

-
Define the following settings:
-
Name: Enter "Site Banner".
-
Page type: Select Other.
-
Target element: Select CSS selector, and enter "body" as the selector name.
-
Display method: Select Before content.
The target element and display method together place the modification as the first piece of content within the
bodyelement.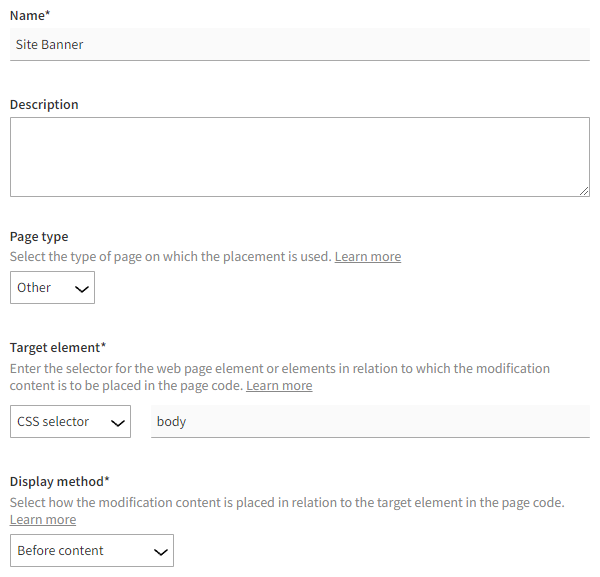
For more information about the settings, see Creating and editing a placement.
-
-
Click Save.
You have created the site banner placement in the workspace. You can now use the placement in the site banner modification, which you create next.
Creating the site banner modification in the workspace
To create the site banner modification in the workspace:
-
In the Control Panel, in the workspace, click the quick menu button for Modifications, and select Create modification.

-
Enter "Site Banner" as the modification name, select Personalization as the modification case, select In-page as the content type of the modification, and click Create.
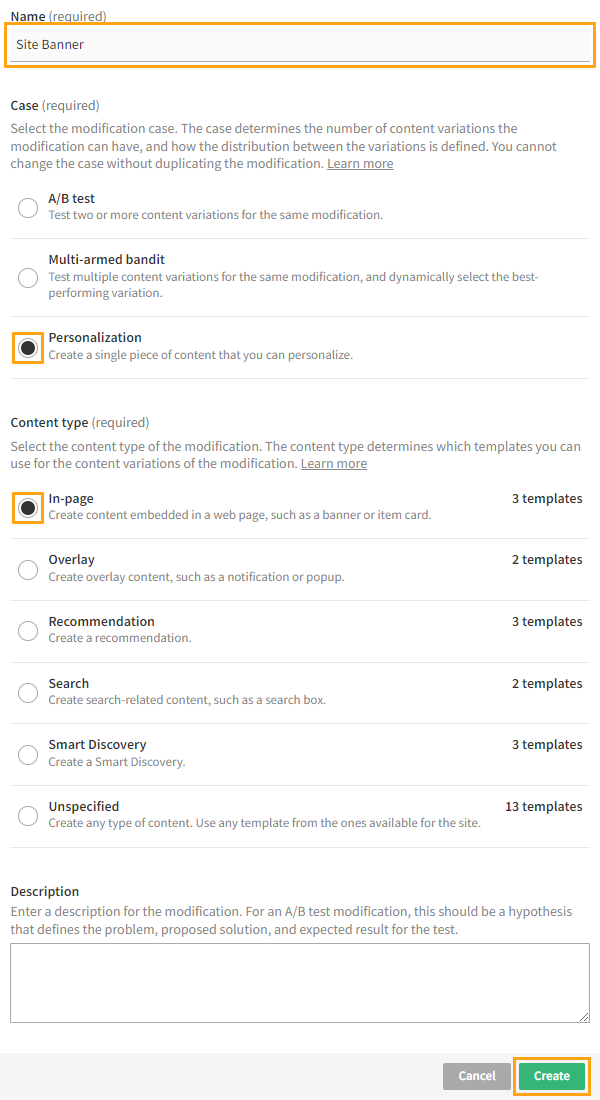
You could also select another case, but since this modification needs only the one variation, Personalization is the natural choice here.
For more information about the settings, see Creating and editing a modification.
-
Select the placement for the modification:
-
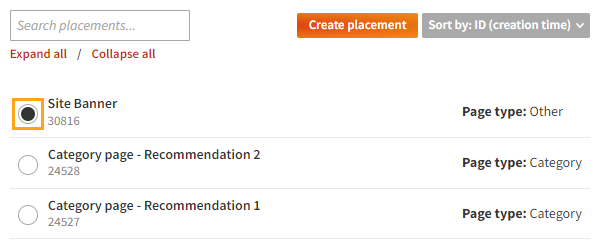
In the Basic settings view, in the Placement section, click Select placement.

-
Select the placement you created for the hero banner.
-
Click Save.
For more information about the settings, see Defining the placement for a modification.
-
-
Define the content for the modification:
-
In the Basic settings view, in the Content section, click Create variation.

-
In the variation settings, for Content source, select Custom.
-
In the Content field, enter the following code:
<div class="frosmo">
    <p>My Banner</p>
</div>

<style>
    div.frosmo {
        background: #ffa415;
        text-align: center;
    }

    div.frosmo > p {
        color: #ffffff;
        display: inline-block;
        font-family: "Source Sans Pro", sans-serif;
        font-size: 20px;
        line-height: normal;
        margin: 20px;
        text-transform: uppercase;
    }
</style> -
At the bottom of the view, click Save.
-
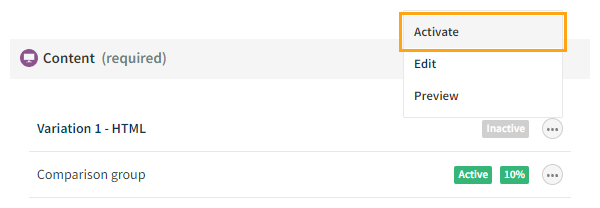
Back in the Basic settings view, in the Content section, click the quick menu button for the variation, and select Activate.
-
If you want to disable the automatically created comparison group for the modification, click the quick menu button for the group, and select Deactivate.
For more information about the settings, see Defining the content for a modification.
-
-
Activate the modification:
-
At the bottom of the Basic settings view, click Activate.
-
To confirm, click Activate.
-
-
At the bottom of the Basic settings view, click Close. The Control Panel returns to the workspace.
You have created and activated the site banner modification in the workspace. You can now preview the site banner.
Previewing the site banner
To preview the site banner:
-
In the Control Panel, in the workspace, in the Actions menu, select Preview workspace.

The site opens in preview mode. If preview mode fails to activate, try one of the alternative solutions for activating it.
-
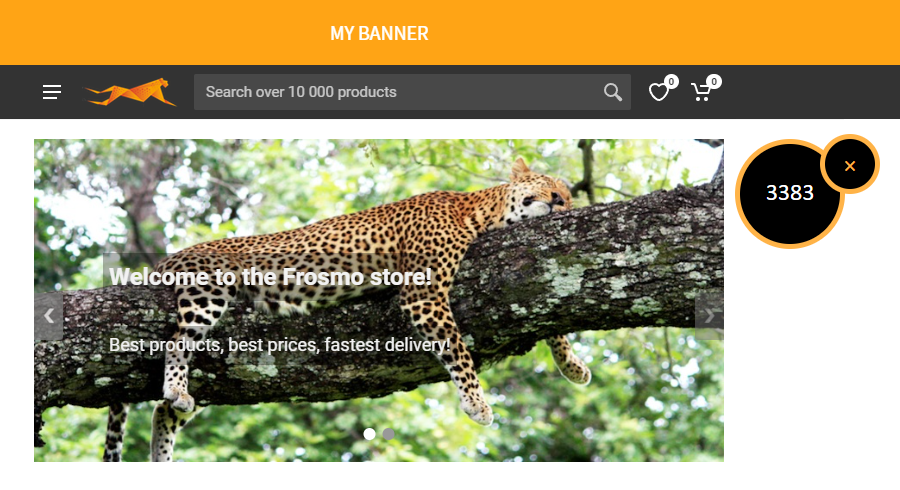
Preview the site banner modification. The following figure (click to enlarge) shows the workspace indicator with the workspace ID.
-
When you're done, deactivate preview mode by clicking ✕ on the workspace indicator, and reload the page. If preview mode fails to deactivate, try one of the alternative solutions for deactivating it.
You have previewed the site banner, and you're done with this example! If this was a modification intended for production, you would next publish the workspace.