Targeting content to specific visitor segments
This example assumes that your site has a basic feature setup in place.
This use case example shows you how to target a recommendation to a specific group of visitors.
In this example, you:
-
Create a segment for the group of visitors you want to target. The Frosmo Platform will automatically place visitors in the new segment if they meet the segmentation criteria.
-
Assign a non-segmented recommendation modification to the new segment. The modification will display the recommendation only to visitors in the new segment.
You work on the segment and modification in the Frosmo Control Panel.
Consider the assumptions and screenshots in this example as just that: examples. In working through the example, feel free to adjust the assumptions to fit your site and needs.
Choose the correct example for your site:
iGaming
For example purposes, let's assume the following:
-
You want to segment the Home page - Recommendation 1 modification on an iGaming site.
-
You want to target new and returning visitors who have not logged in during the past 7 days. You create a single segment for these visitors.
-
Your site triggers a
loginconversion event every time a visitor logs in to their user account, including a newly created account. You'll use this event as the basis for segmentation.
To work through the example:
Creating the segment
To create the segment:
-
In the sidebar, select Audiences.
-
Click Create segment.
-
Define the rules for the segment:
-
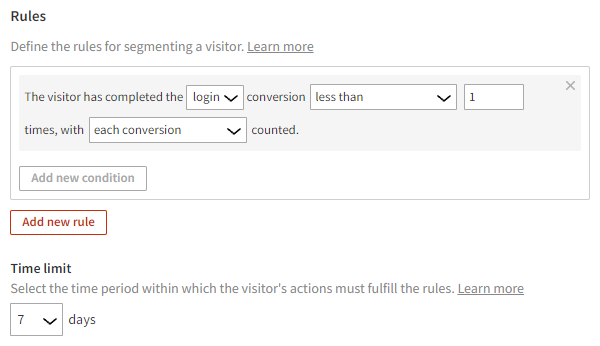
In the Rules section, click Add new rule, select Conversion, and set the segmentation rule to:
The visitor has completed the login conversion less than 1 times, with each conversion counted.
This means that any visitor who has not logged in gets segmented. Each login is counted.
-
In the Time limit field, select 7.
The following figure shows the complete segment rule settings in the Control Panel.
For more information about the rules, see the segmentation user guide.
-
-
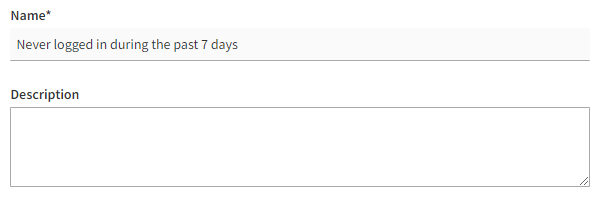
Define a name for the segment:
-
Select Description.
-
In the Name field, enter "Never logged in during the past 7 days".
-
-
Click Save.
-
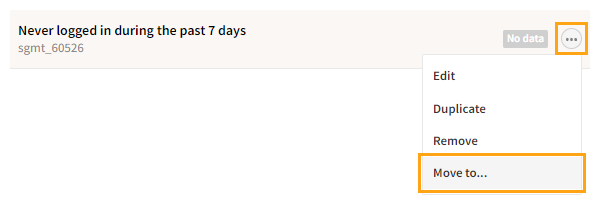
Optionally, move the segment to an existing segment group:
-
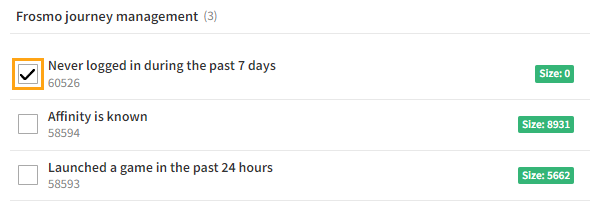
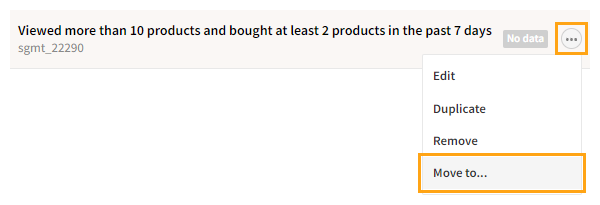
In the segments list, find the segment, click the quick menu button for the segment, and select Move to.
-
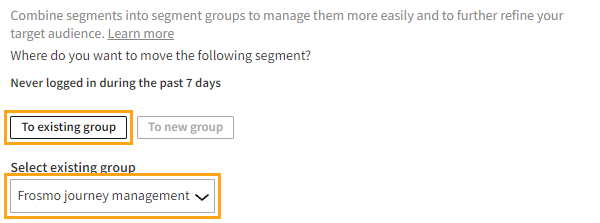
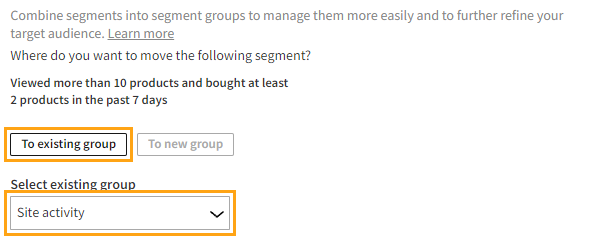
Select To existing group, and select Frosmo journey management as the existing group.
-
Click Move.
For more information about segment groups, see the segmentation user guide.
-
You have created the segment. The platform now automatically places applicable visitors in the segment, and you can now assign modifications to the segment.
Assigning the recommendation modification to the segment
To assign the recommendation modification to the segment:
-
In the Control Panel, in the sidebar, select Modifications.
-
In the modifications list, find the modification you want to assign to the segment, and click the modification name. In this example, the modification is Home page - Recommendation 1.
-
Define the target audience for the modification:
-
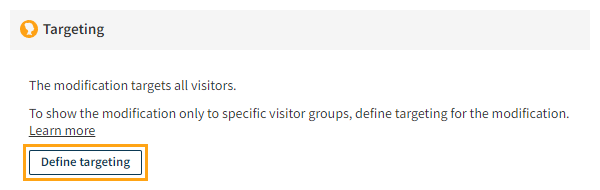
In the Basic settings view, in the Targeting section, click Define targeting.

-
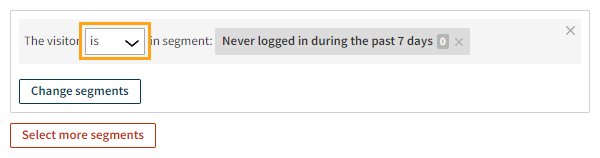
Click Select segments.

-
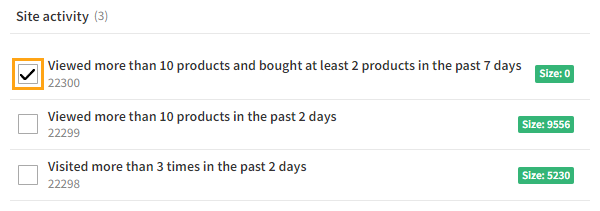
Select the segment you created. In this example, the segment is Never logged in during the past 7 days.
-
Click Confirm.
-
Make sure the segment is included in the target audience.
-
Click Save.
For more information about the settings, see the modification user guide.
-
-
To exit the modification settings, click Close.
You have assigned the recommendation modification to the segment. The platform now displays the modification only to visitors who are in the segment.
You're all done with this example!
Retail
For example purposes, let's assume the following:
-
You want to segment the Home page - Recommendation 3 modification on a retail site.
-
You want to target visitors who have viewed more than 10 products and purchased at least 2 products in the past 7 days. You create a single segment for these visitors.
To work through the example:
Creating the segment
To create the segment:
-
In the sidebar, select Audiences.
-
Click Create segment.
-
Define the rules for the segment:
-
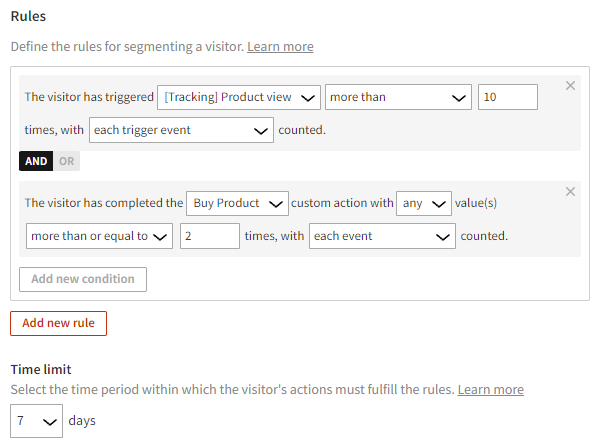
In the Rules section, click Add new rule, select Trigger, and set the segmentation rule to:
The visitor has triggered [Tracking] Product view more than 10 times, with each trigger event counted.
This means that visitors who view any product page more than 10 times get segmented. Each page view is counted. Every time a visitor loads or reloads a product page in their browser, the platform fires the [Tracking] Product view trigger.
-
Click Add new condition, select AND, select Custom action, and set the segmentation rule to:
The visitor has completed the Buy Product custom action with any value(s) more than or equal to 2 times, with each event counted.
This means that visitors who purchase at least 2 products get segmented. Each product is counted. Every time a visitor completes a transaction, the platform sends a Buy Product custom action event for each product included in the transaction. (Multiple copies of the same product in the same transaction count as 1 product.)
-
In the Time limit field, select 7.
The following figure shows the complete segment rule settings in the Control Panel.
For more information about the rules, see the segmentation user guide.
-
-
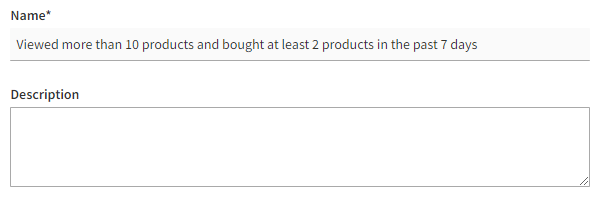
Define a name for the segment:
-
Select Description.
-
In the Name field, enter "Viewed more than 10 products and bought at least 2 products in the past 7 days".
-
-
Click Save.
-
Optionally, move the segment to an existing segment group:
-
In the segments list, find the segment, click the quick menu button for the segment, and select Move to.
-
Select To existing group, and select Site activity as the existing group.
-
Click Move.
For more information about segment groups, see the segmentation user guide.
-
You have created the segment. The platform now automatically places applicable visitors in the segment, and you can now assign modifications to the segment.
Assigning the recommendation modification to the segment
To assign the recommendation modification to the segment:
-
In the Control Panel, in the sidebar, select Modifications.
-
In the modifications list, find the modification you want to assign to the segment, and click the modification name. In this example, the modification is Home page - Recommendation 3.
-
Define the target audience for the modification:
-
In the Basic settings view, in the Targeting section, click Define targeting.
-
Click Select segments.

-
Select the segment you created. In this example, the segment is Viewed more than 10 products and bought at least 2 products in the past 7 days.
-
Click Confirm.
-
Make sure the segment is included in the target audience.

-
Click Save.
For more information about the settings, see the modification user guide.
-
-
To exit the modification settings, click Close.
You have assigned the recommendation modification to the segment. The platform now displays the modification only to visitors who are in the segment.
You're all done with this example!