Example: Recommending most viewed products in a marketing email
This example shows you how to create an email recommendation for most viewed products, and how to then use the recommendation as content in a marketing email. The example assumes that your site has the necessary recommendation strategy set up and ready to use, and that you have a HubSpot account for sending the email.
In this example, you:
-
Create an email recommendation for the top 3 most viewed products on the site in the past 7 days. You create the recommendation in the Frosmo Control Panel.
-
Create and copy the email recommendation code.
-
Use the email recommendation code in a marketing email that you create and send through HubSpot.
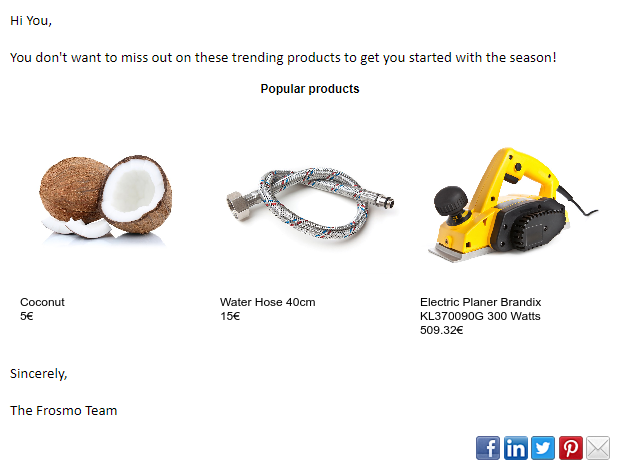
The following figure shows an example of the final email as displayed to a recipient.
Creating the email recommendation has no impact on the live content of your site, so this is a safe example to try out.
For generating the recommendation, this example relies on product data collected from the site. The example therefore assumes that product tracking is correctly set up on the site.
To create and use the email recommendation:
Creating the email recommendation
To create the email recommendation:
-
In the Frosmo Control Panel, in the sidebar, select More > Email Recommendations.
-
Click Create email recommendation.
-
Create the recommendation:
-
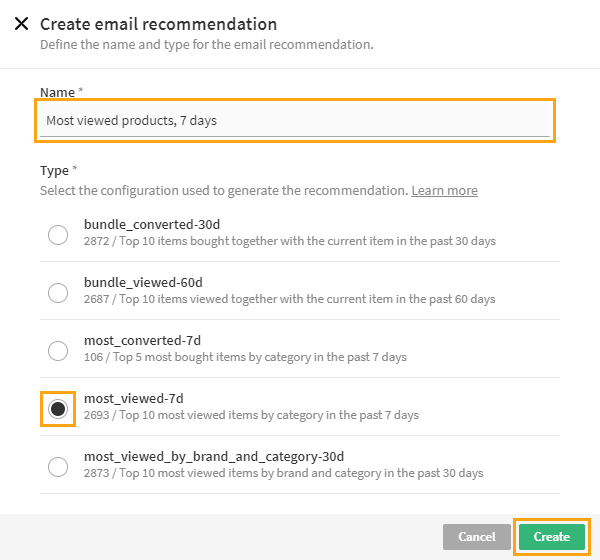
In the Name field, enter "Most viewed products (7 days)".
-
In the Strategy list, select the predefined recommendation strategy. In this example, the strategy is Most viewed products (7 days). The strategy returns the 10 most viewed products in the past 7 days.
-
Click Create.
-
-
In the Display settings section, in the Recommendation title field, enter "Popular products". Otherwise, keep the default settings. The recommendation displays three products with their names and prices.
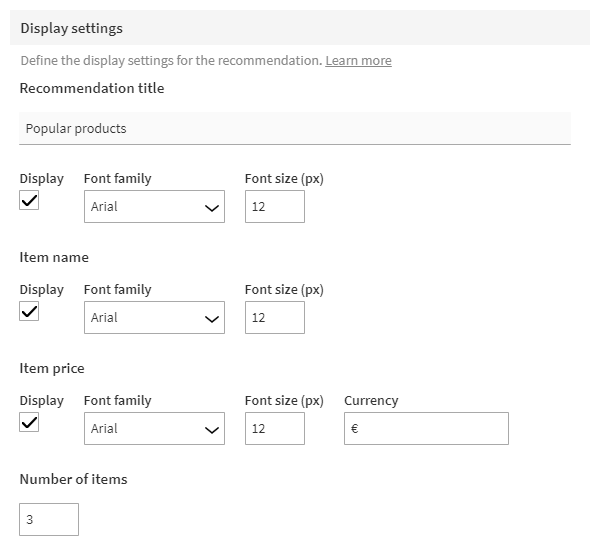
For more information about the settings, see Creating and editing an email recommendation.
-
In the Preview section, select Save and Preview. The platform generates the recommendation and shows a visual preview of the recommendation as it will be displayed in the email.
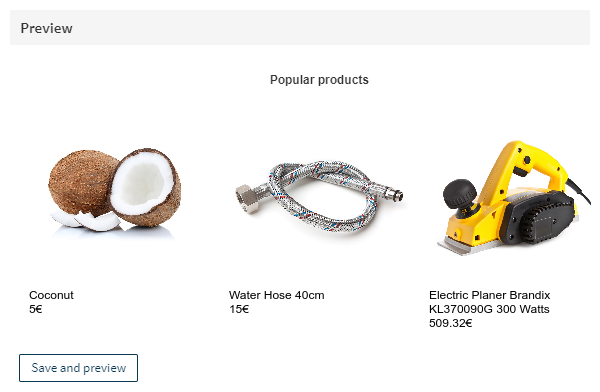
You have created the email recommendation. You can now create and copy the email recommendation code.
Creating and copying the email recommendation code
The email recommendation code is an HTML snippet that you use in an email to display the recommendation.
To create and copy the code:
-
In the Frosmo Control Panel, in the email recommendation settings view, at the bottom, click Create code.
-
To confirm, click Create code. The Frosmo Platform builds the code.
-
Copy the code directly to your clipboard by clicking Copy HTML.
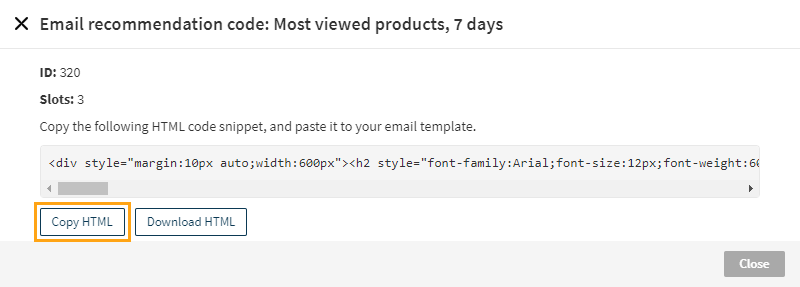
-
Click Close.
You have created and copied the code. You can now use the code in an email.
Creating and sending the marketing email
The final step is to show the recommendation in a marketing email. You do this by adding the email recommendation code, which you have copied on the clipboard, as content to an email. This example assumes that you have a suitable email template available in your HubSpot setup, and that you're sending the email immediately (as opposed to scheduling it for later).
Your HubSpot setup may differ from the one used in this example. For more information about HubSpot settings, see the HubSpot Help Center.
To create and send the marketing email:
-
Log in to HubSpot.
-
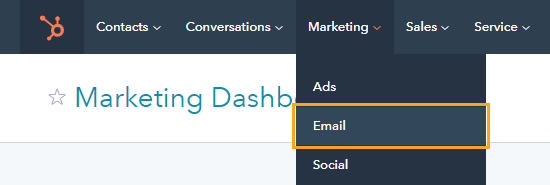
In the sidebar, select Marketing > Email.
-
Click Create email, select Regular as the email type, and select a template for the email.
-
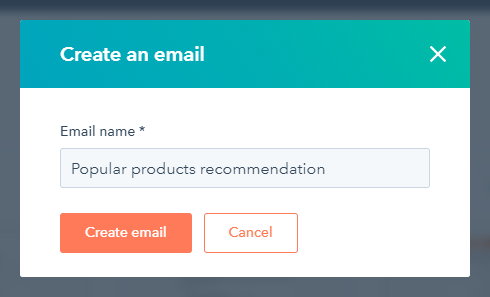
Enter a name for the email, and click Create email.
-
In the content editor, create the email content, and leave a placeholder for the recommendation.
-
Add the email recommendation code to the email content:
-
In the content editor, click the part of the content where you want to add the recommendation.
-
In the toolbar, select Advanced > Source code.
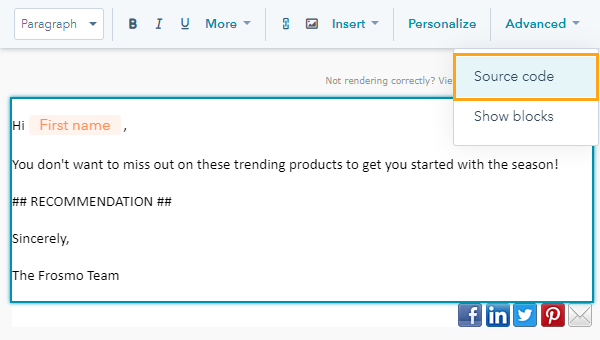
The editor shows the HTML source code for the content.
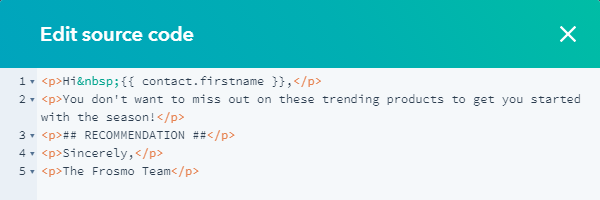
-
Paste the email recommendation code from the clipboard to the correct place in the content.
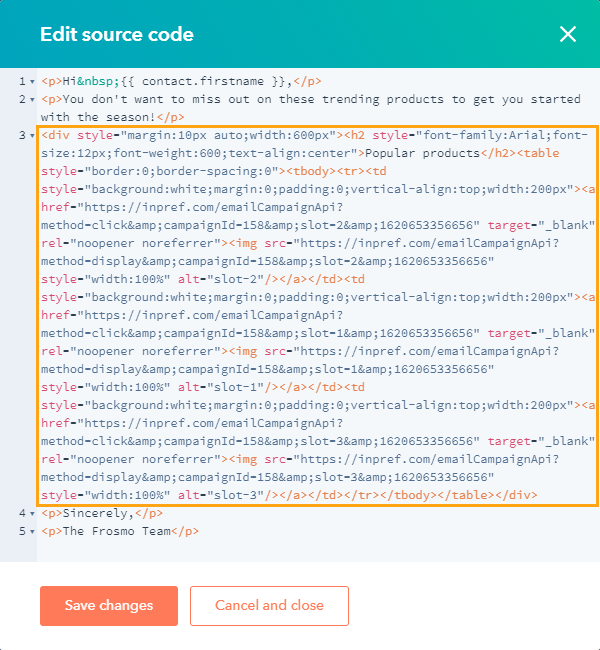
-
Click Save changes.
-
-
Select Settings, and define the email settings.
-
Finalize and send the email:
-
Select Send or schedule.
-
In the Recipients section, select the email recipients.
-
In the Sending options section, select Send now.
tipSend a test email to yourself or to your team before sending the email out to a wider audience.
-
Click Review and Send.
-
Review the email summary.
-
To preview the email, click Preview. To return to the email summary, click Back.
-
Click Send.
-
To confirm, click Send email now.
-
You have created and sent the email.
You can at any time check how well the email recommendation is performing.