Creating placements and modifications for React
A FrosmoPlacement component requires a placement and at least one modification to provide the display rules and content for the wrapped React components. The association between the placement and the FrosmoPlacement component relies on a shared ID, which you must use both as the target element selector of the placement and as the id prop value of the FrosmoPlacement component. You create the placement and modifications in the Frosmo Control Panel. For more information about the FrosmoPlacement component, see Using the FrosmoPlacement component.
The React Connector currently supports only basic modifications.
To provide the display rules and content for a React component:
Creating a React component placement
To create a placement for a React component:
-
In the sidebar, select Modifications.
-
Select the Placements tab.
-
Click Create placement.
-
Define the following settings:
-
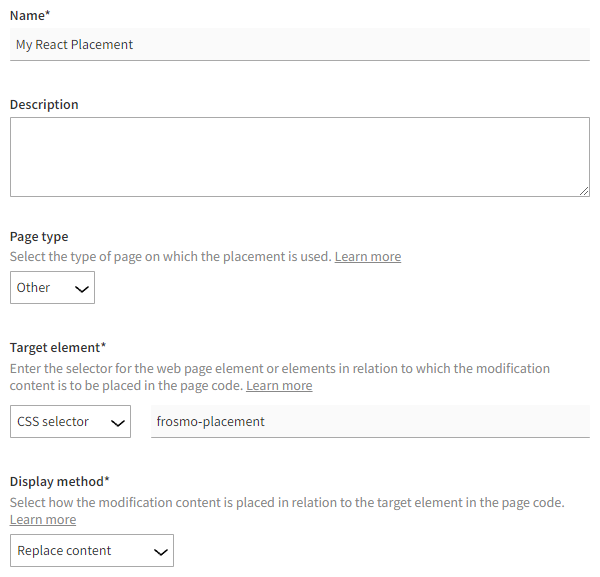
Name: Enter a descriptive name for the placement.
-
Page type: Select the type of page on which you plan to use the component. If you plan to use the component on multiple different types of pages, select Other.
-
Target element: Select CSS selector, and enter the shared ID as the selector name. The ID can be any string that is a valid React prop value, such as "frosmo-placement" or "123456".
noteMake sure the ID is unique to this placement, so that no other placement is associated with the same
FrosmoPlacementcomponent. If multiple placements are associated with the same component, the wrong modification might get rendered on the page. -
Display method: Leave this field to its default value. The selected display method does not actually matter, since the platform is not in charge of rendering the content, which is handled by React.
-
-
Optionally, if you want to limit the modification to only certain pages of your site, create the appropriate URL matcher rules for those pages.
noteLeave the remaining placement settings (trigger, custom renderer, CSS classes, CSS code) undefined. The React Connector ignores these settings, so you cannot use them.
-
Click Save.
You have created the placement.
For more information about placement settings, see Creating and editing a placement.
Creating a React component modification
To create and activate a modification for a React component:
-
In the Control Panel, on the Modifications page, select the Overview tab.
-
Click Create modification.
-
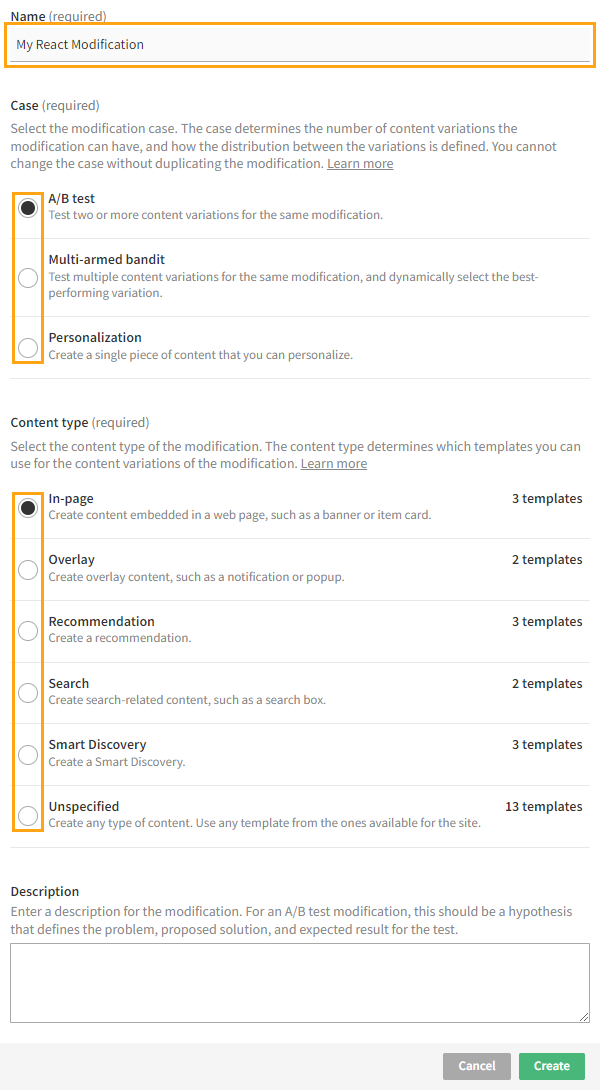
Enter a descriptive name for the modification, select the modification case, select the content type of the modification, and click Create.
The Basic settings view opens.
-
Select the placement for the modification:
-
In the Placement section, click Select placement.

-
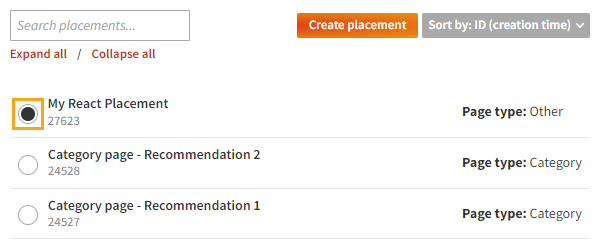
Select the placement you created above.
-
Click Save.
-
-
Optionally, define the content for the modification:
tipYou only need to define the content if you want it hosted in the Frosmo Platform. If the content is hosted in a CMS or in the React application, skip this step.
-
In the Content section, depending on the modification case you selected, either create a new variation or click the name of the existing variation.
-
Define the content type and content settings for the variation.
-
When you're done, click Save.
-
In the Content section, click the quick menu button for the variation, and select Activate.
-
Optionally, create and activate additional variations for the modification.
-
-
Optionally, define any additional settings that are required to implement the display rules for the React component. For example:
-
If you want to target a specific subset of your visitors, define the appropriate audience settings for the modification, such as which segments see the modification.
-
If you want to limit when the component is displayed, define the appropriate display time settings for the modification.
-
-
Activate the modification:
-
At the bottom of the Basic settings view, click Activate.
-
To confirm, click Activate.
-
You have created and activated the modification. The display rules and content of the modification are now reflected in the associated FrosmoPlacement component.
For more information about modification settings, see Creating and editing a modification.